Tuesday, July 24, 2012

Summer Fun!

It's time for the Summer Olympics!!

What better way to celebrate the Olympics and athletes around the world, then to hold your own

BACKYARD OLYMPIC GAMES
 This was a huge hit for the kids!  You can get creative with the events you want to include in your games.  We had throwing, running, relays, crab walks, obstacle courses, trapeze bar or rings on a swing set, etc.  Be unique and think of some super fun events. 

Use a microphone hooked to an amp or speaker to call out events and later to announce winners of each event.  You can also use a small megaphone or even just one of those plastic kid microphones that amplifies their voice.

You can purchase little gold medal ribbons at any novelty shop, Pat Catan's, Oriental Trading and even your little stores like Dollar General and Family Dollar have them a lot of times.

We also printed out an 8" x 11" paper certificates with the Olympic rings in the background and different sports clipart in the corners.

Have a few tubs filled with ice sitting around and fill with bottles of water, Gatorade, etc.

Play Star Spangled Banner at the Opening Ceremony and some other type of patriotic music can be going during your winner announcements.  Build some type of platform for your winners or if you don't have anything, just use a set of outside steps from your house.

BACKYARD POTATO FIGHT

Don't wanna take time to fill up balloons or have your kids pelt each other with paintballs????  Then try a MASHED POTATO FIGHT!

Things you will need:  Lots of big (cheap) boxes of instant mashed potatoes
                                     One color of food coloring per team (decide how many teams you want)
                                     Playing field or lawn
                                     Rain Ponchos (optional)

Before your game.....mix up MANY batches of mashed potatoes (you don't need to add butter and milk - just water unless you plan on eating them  LOL)

Once you have them in tubs (one big tub per team or a couple smaller ones per team), add the teams color choice to their potatoes and mix well.

They can don their ponchos prior to starting or if it is a warm summer day, just wear bathing suits and you can hose them down afterward.

Blow a whistle and stand back as colored mashed potatoes are thrown at the enemies.  You can tell by the color of potatoes who is getting the most strikes against each team.  Play until no more potatoes can be scooped out of tubs or the ground.  Determine a winning team by the color most prevalent on the players.

Hose everyone down and don't worry about the colorful mess on your lawn....it is perishable and will soak into the ground eventually  :o)

PAPER MACHE' MARACAS

 Fun project that can be used later to create some cool backyard music.  Add a little drumming and maybe a guitar and you can create your own summer vacation cconcert....right in your own backyard.

Supplies needed:  2 small balloons per set of maracas
                              2 toilet paper tubes per set
                              Tape
                              Dried Beans or Popcorn Kernels
                              Newspaper
                              Flour & Water  (glue - optional)
                           
Blow up the balloons and tie shut. Stick the tied end of the balloon into a tube and tape them together. Leave one end of the tube open to add beans later.  Do not layer 
paper mache' over the open end.


                        For Paper Mache' mix....just add flour and water together (not very thick.....little more water).  You can also add a little glue to the mix is you want.

Tear strips of newspaper into about inch wide strips.  You will need many, many of these.
Lay out a thick layer of newspaper over your work area or table.
Have kids dip strips of newspaper into the mixture and once wet, apply to the balloon/tube base. Keep
adding layers of newspaper until you have the entire thing covered in a couple of layers.
Allow these to dry in a warm or sunny area.  May need to turn periodically.  Should be dry overnight.

Once they are dry, use a long pair of scissors to go into the open end of the tube and cut
open the balloon.  Use the scissors or needle-nosed pliers to pull the balloon out.
Once the balloon is out....let sit so you can make sure the inside dries completely.

After it is all dry, it is time to add your dried beans or popcorn kernels.  Once they are in, use
crinkled newspaper to stuff ONLY the handle(tube) of your maraca.
When everything is inside, use masking tape or duct tape to seal the end and wrap around the maraca 
handles. We used black duct tape that we had.

Now you can paint your maracas any colors or designs you choose.
Go make some music!

PLAY IN A CREEK!
I know it seems like such a simple thing, but there are lots of kids who have never gotten the opportunity!

Here we are at Christmas Run park in Wooster, Ohio!
The kids love to take their shoes off and splash through the water.
In this pic, my son and some friends are gathering rocks to try
and build a small dam across the creek.
When they are all done the rocks the gathered will be put 
back for other children to use later.

Don't be afraid to let them get dirty and explore the water and maybe any
little creatures living in it....your children are WASHABLE!  LOL

Just a few ideas for the day!
Get OUT and create some fun....
there is less than a MONTH 
before school starts!


Sunday, July 22, 2012

ARRGGHHH!!! It's Pirate Week!

We absolutely LOVE pirate week!  All the kids like all the crafts, books, music, and the whole idea of being pirates for a week.  Have to say this is one of the teachers' favorite themes too!  It's just so much fun to shout out, "ARRGGHH Matey!"  for really NO reason at all  LOL
 Come along with us as I take you through a week of "Pirating"!

Books -  There are many, many books about pirates, but here are a few we enjoy!


              How I Became a Pirate  - Melinda Long
              A Pirate's Tale               - Alan Jardine
              Pirate Pete                     - Kim Kennedy
             Shiver Me Letters ABC  - June Sobel (great for when you add letters to your sand table)
              My Friend the Octopus  - Julian Defries
             A Pirate's Life for Me      - Julie Thompson
             Do Pirates Take Baths?   - Kathy Tucker
             Pirates Past Noon            - Mary Pope Osborne
             Pirates Don't Change Diapers  - Melinda Long

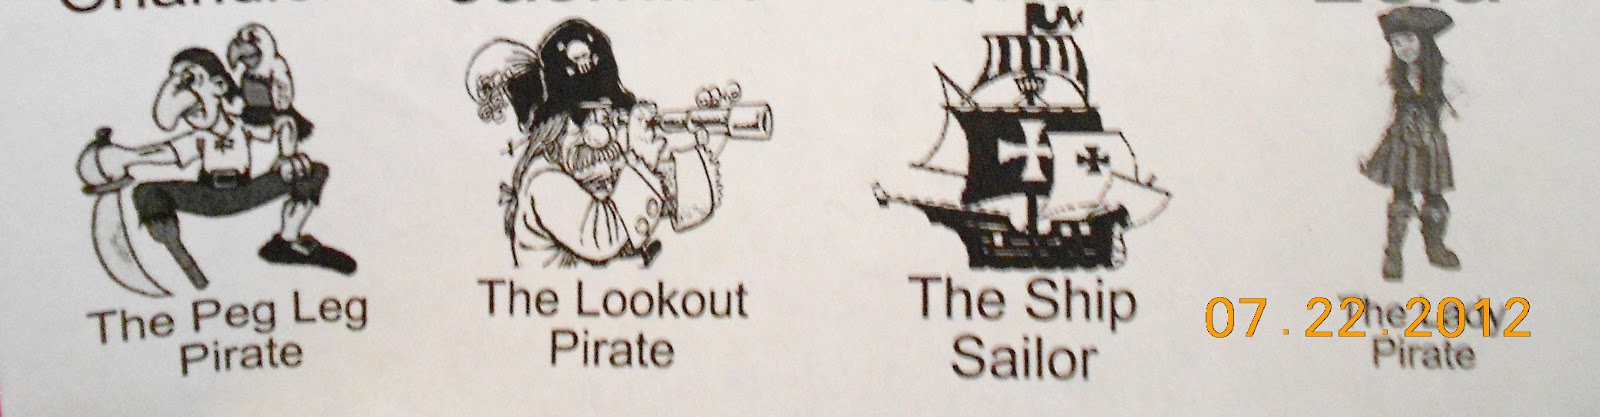
Every pirate needs a name, so during centers or playtime, call each child over to make a pirate name tag.
To make their name tags we used heavy cardstock.  We had printed a page with the pirate picture at the top and each child's name and left a blank area at the bottom for them to choose a picture and name.  Each child had a pirate job so these are some of the pictures they chose from:
  Have them glue their desired pictures and write their pirate name across the bottom.

Pirate Crafts

Our preschool is Monday - Thursday so we usually make a pirate item the first three days and then use all of our tools to hunt for treasure on Thursday.

Monday - PIRATE HATS

For each hat, take a sheet of black construction paper and fold in half.  Start at the top folded edge and draw down and out to make half of the pirate hat.  When you cut it out and fold out you have your whole hat.  Next, help your child put glue around the outside edges of the hat (staying inside about a fourth of an inch to avoid running off your paper.  Let them choose a color of glitter to sprinkle on the glue.  Next you can add any emblem to the center (pictures you have printed off, stickers, etc.  For the finishing touch (and it really does MAKE the whole hat.....add a colorful feather! Let these dry overnight then add a strip of black paper for the band.
The children wear these the rest of the week during school and will take home after our pirate party on Thursday.

Tuesday  -  SPYGLASSES/TELESCOPES

For your telescopes you will need:
         1 - Paper towel tube per child
         1 - Piece of foil about 6 - 7 inches wide
         1 - Colored tape or masking tape or black electrical tape will work too.
         Stickers, foam stickies, cut out pictures to glue, etc

Help each child roll their tube inside the foil.  Fold the excess end pieces tightly into the ends of the tube.  Use your tape to tape off ends and a line about 1/3 of the way down for your hand to hold.  Let them decorate with stickers.
These can be used the next few days to play games like:  I Spy, Have them hunt for different shapes throughout your room, Shout out a certain letter and see who can find it first.  Lots of ways to use your telescopes!

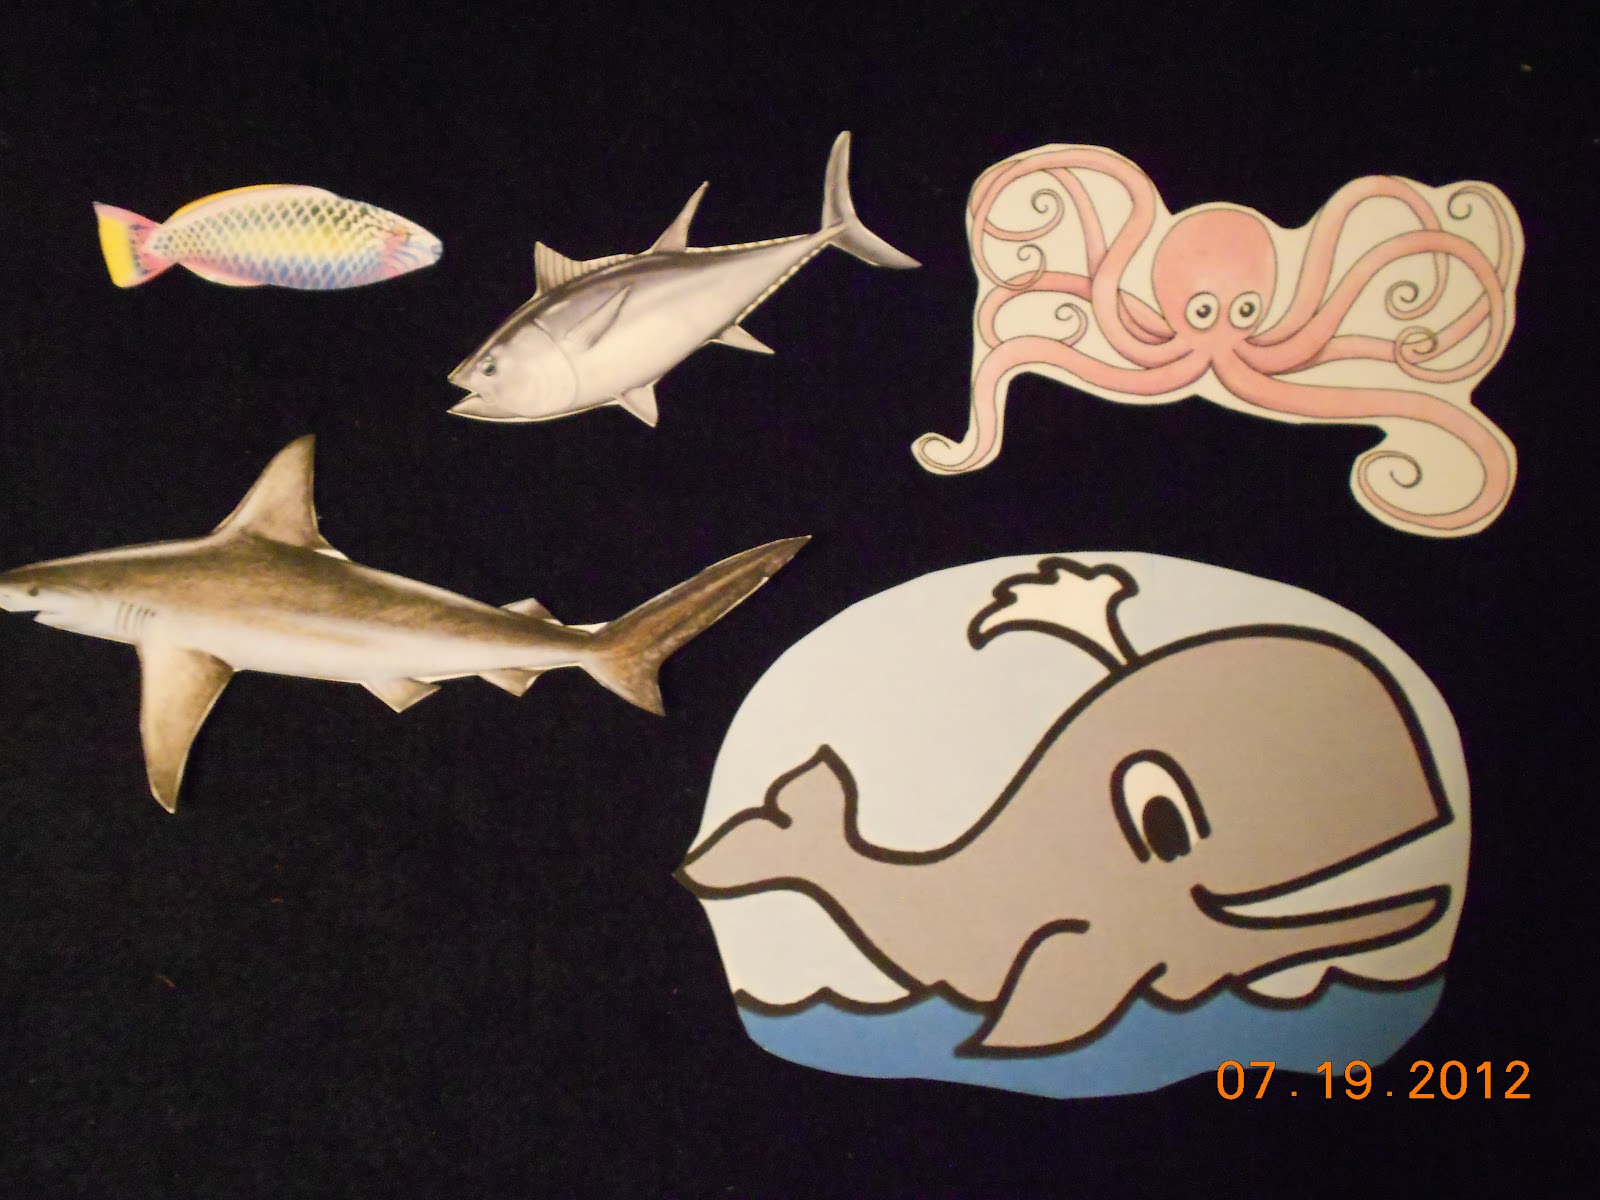
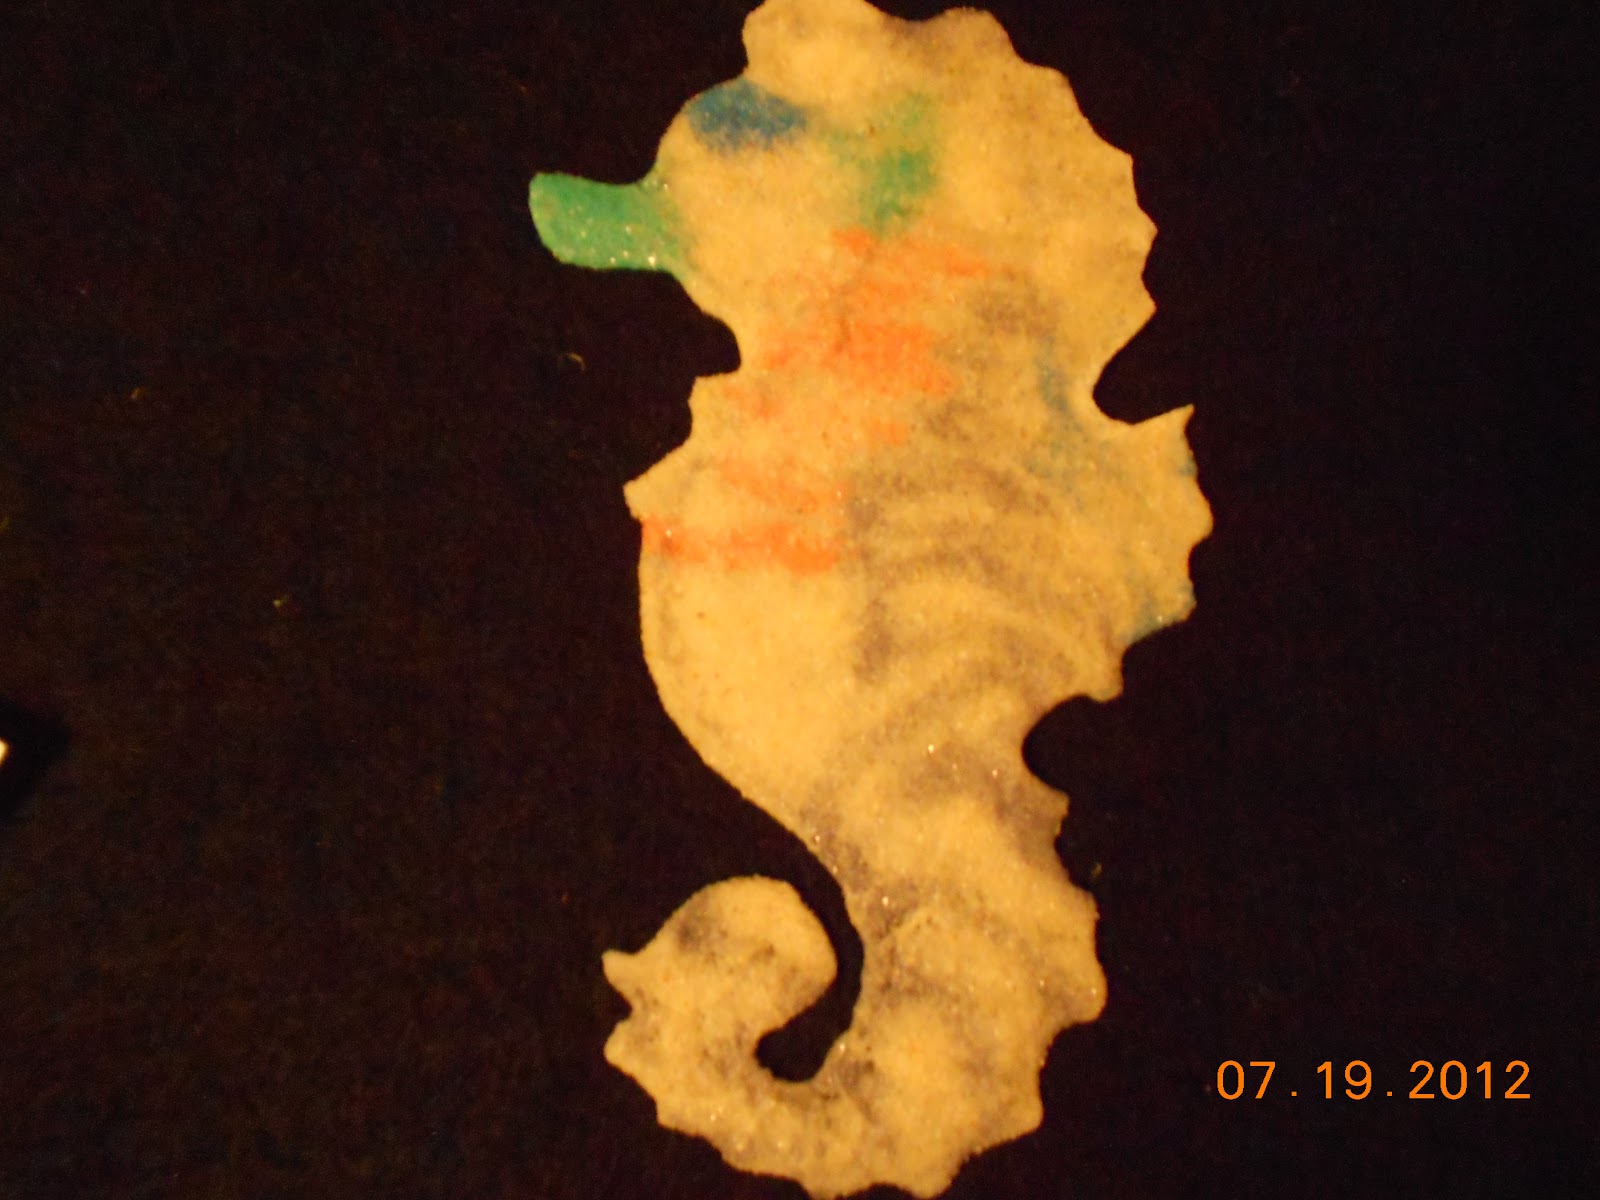
Wednesday - TREASURE MAPS

To start....we printed a coloring page with the pictures shown above for each child. We used the page find here:  http://kidsartactivity.com/treasure_map.html
Use a black marker to draw around each small picture and have the child cut out each shape.  Have them glue (use plenty of glue because these will get a little wet) each picture on.....making sure the ship and treasure X pictures or in opposite corners.
Once pictures are on, help them use a black permanent marker and starting at their ship...make a dotted line to show the path they should follow to find their treasure.  You can kind of guide them so it doesn't end up a scribbled mess  :o)
Once pictures are on, crinkle the paper up into a ball and then flatten out a little.
Your last step will be to add a couple of teabags to a shallow dish of water and let them steep a minute.  Then let the child use the teabags to stamp tea and water all over their map to give it an old weathered look.
Let dry and then use the next day for your hunt.  These will also roll up and can be stored inside their telescopes.

Activities:   

Pirates in Training!  NOT everyone can be a pirate!  

It takes a lot of hard work to become a pirate. You cannot expect to just step onto a ship and know what a pirate is supposed to do.  To get in shape, you must first complete PIRATE BOOT CAMP!


Set up a training obstacle course for your pirates.  These are some things we use:


Plastic slide  (for learning to climb ladders and rigging)
Wooden balance beam or board (to learn how to walk the plank without falling in to the sharks)
Tunnel (never know when you might have to Hit the Deck and crawl under some cannonball smoke)
Small table (sometimes pirates have to climb onto crates to get away from other bad pirates)
Hoops (You may find yourself having to hop through small fires if your ship is hit)


You can add whatever items you would like.  We set the whole thing up and then turn on some pirate music and have them follow in line and complete the course a few times before they can become REAL pirates!  If their foot falls off the balance beam, YIKES...they have been bitten by a shark and must go back to start and start over.  :o)
  
House Area:  
During pirate week, our house/kitchen area becomes the Pirate's Galley.  The children in this area must now cook for the pirates of the ship.  See what kind of creative names they can come up for the things they think pirates eat.  Do pirates eat normal foods or some crazy things like shark eyeballs, octopus tentacles, etc.

Sand Table:


Pirates LOVE to dig in sand! They are sure that if there is sand....there is GOLD!
Hide gold coins, gems, ABC letters (Shiver Me Letters book), necklaces, rings, etc and give the children little shovels and sifters to find as many things as they can.  You can also have them sort all of their treasure into categories and count to see of which item they have the most.

Pirate Eye Patch Game
You can find this game at, I think, Oriental Trading and other novelty stores, but I just drew my own onto a poster board and then laminated.  Cut out enough eye patches for each child (I laminated mine so I can just reuse instead of making each time).  I have a # on each of mine so they know which one is theirs.
Tie a pirate bandana or scarf over the child's eyes.  Slowly turn them around three times and then point in direction of the pirate face.  Give each child a turn and see who can get the closest to the outlines eye patch.

Hot Gold (Played like Hot Potato) We use a golden egg or gold coin.

Have children sit in circle...Indian Style or pretzel legs (whichever you prefer).  Their knees should be touching.  Play some pirate music and have them pass the gold.  They are NOT allowed to throw the gold into a person's hands...they must place it right into the next person's hands.  If they throw it to them...they are now out and must sit in the ocean with the sharks :o)  They also cannot HOLD onto the gold for too long (which pirates are known to try to do).  Those thieving pirates must also join the sharks :o)
Pause your music throughout the game and whoever is holding the gold when the music stops, must leave the game.  Scoot kids together once more and resume playing until only one left.
When it gets down to only 2 players we do this:  Have them sit facing each other with a foot or two between them.  When they get the gold, they must touch it to their chin first before placing in the other child's hands.  That way they are not just pushing it back and forth.

Pirate Patterning: Use foam pirate shapes (available at craft stores like Pat Catan's, etc) to pattern & sort.

Treasure File Folder game:  Have them match the correct # coins to the matching chest.
                       ( Just printed out pictures and glues on and laminated)


More Pattering:  Choose a few gems, and colored coins to put in a small chest.  Draw a picture of them and make pattern strips the kids can match and continue the pattern. 


Coin Sorting  Place pictures similar to these into the bottoms of 4 dishes and have children sort pennies,    nickels, dimes and quarters.


Pirate Finger Puppets:  These are just fun to play with or you can use them for addition and subtraction.
                                 Give them 3 to put on their fingers and then add two more....how many do they have?
                                 Now have them give you 4 and see how many they have left.

Pirate Memory:   Print out two copies of each picture card you choose.  You can find lots of pics online.
                              Laminate for longer use.  Lay the cards face down in short rows.  Take turns
                              flipping over two cards.  If they match...you get to keep.  If they don't, turn back
                              over in the same spot and the next person goes.  When all cards have been
                              matched, count your matches to determine a winner.


Make a Treasure Chest:   If you don't have some type of chest to use for your hunt.....you can easily make one out of a shoe box.  I used one that has an attached hinge-type lid.  Let kids glue some tan paper to the sides and top.  Add some paper straps, latch, and skull crossbones or whatever pirate pic to the top.

TREASURE HUNT DAY!  

It is finally the last day for pirate week and that means.....TREASURE HUNT  & PARTY!!!  HOORAY!

Before children get there, place clues throughout your room or school.  We send them to our school library and when they find the clue there it might say.  You must do 10 Toe touches before I tell you where to find the next clue or at the principal's office they might have to sing the ABCs.  You can think up clues to fit your group.  At the end of your hunt have your chest with a big red X on it, hidden in your room somewhere.  Have it filled with things like necklaces, Rolos (gold wrapped), Ring pops, pirate stickers or tattoos, mini Reeses Cups, etc.  We love these gold necklaces from Pat Catan's (they come in a pack of 12 for under $2.00)  The kid's love them.


To start your hunt.  When you are ready to start your hunt, just happen to "FIND" a note laying around your room from Captain Red Beard!  
 This is what ours said one year (to help you out):
Ahoy and shiver me timbers Mateys!

My name be Captain Red Beard and I
was scrounging around your classroom
last night looking for some gold!

But avast and rattle me bones --
Ye have none!!!

I felt bad for you lads and lassies so I
hid some of me OWN pirate booty in a
treasure chest somewhere in your building.

You must search for clues and 
follow the directions on them to
FIND THE GOLD!

The first clue can be found where you
Line up to go to the outhouse!

Good Luck Mateys!

Once you have found your treasure, divvy the booty up amongst your pirates for loot to take home.

For the rest of your party you can eat some snacks:

Here is a cool cake (From Family Fun magazine):
 
Pirate Mix :  Give each child some of each in a bowl & mix up

Pirate Peg Legs (pretzel sticks)
Cannonballs (Cocoa Puffs)
Gold coins (banana slice)

Pirate Ship Snack:  (I know the pic isn't very good, but I just drew it a second ago  LOL)


 Use a wide apple slice and a toothpick stuck in it with cheese cubes and a pirate flag attached.

You can also play pirate music while eating or play a pirate movie to watch while having snack!

Well.....I think that is quite enough stuff to get your Pirate Week or party off to a good start and help you have a fun time!

ARRGGHH Mateys!  Have a wonderful day filled with GOLD!


Friday, July 20, 2012

Rainy Day Snacks for Movie Night

It is a dreary kinda day here in Ohio, so I thought I would post some things you can make with your kids and later use for snacks during a movie night.  The first thing that is super simple is:

5 Minute Chocolate Mug Cake ( I also made a vanilla one since I am not a chocolate lover)

These are the ingredients you will need:

4 T. flour              4 T.  sugar         2 T. cocoa  (Add these 3 ingredients to mug and mix well)

Add:   1 Egg and mix well.        Next add:  3 T. Milk  &  3 T. oil  (mix well)    Add  a splash of vanilla

Mix everything till well blended.  You can also add 3 T. of chocolate chips if desired  (I didn't desire :o)

Put your mug in the microwave and cook for 2 1/2 minutes. 

The cake will rise over the top of the mug about halfway through, but don't be alarmed...it will go down.  You can kind of see in the picture through my microwave window.  (This was the vanilla cake)

Once it is done, you can eat right from mug or tip out onto a plate.  I tipped mine out because I am a frosting type of girl and wanted actual little cakes.  You can see in the picture that these are kind of tall.

Since these were taller I decided to cut each on in half and have four little cakes.

While these are cooling, you can mix up some frosting.  (You can also use canned frosting....but I LOVE homemade frosting much better.  For frosting I use these ingredients:  ( I forgot to add my vanilla to the pic..oops)
I never really measure stop...am horrible about it actually, but everything always turns out great!  I will try to guess my amounts to help you, but you can always add more or less powdered sugar to your satisfaction.

1 and a half Cups Powdered Sugar (maybe a little more  LOL)
About a third of a stick of margarine
maybe a 4th cup (if that of water)
2 big splashes vanilla

Once your cakes have cooled, let your kids frost and decorate.

A couple of other ideas I have are:

Biscuit Pizzas

For these I use a can of ready made biscuits, some pizza sauce and whatever toppings your kids would like to add.
Let them each flatten a biscuit ( you can have the each do one on a little piece of foil with their name written at the top in permanent marker...that way there is no fighting over whose pizza is whose)
Add sauce and toppings and put onto cookie sheet or pizza pan in the oven at 350 degrees for about 8 -10 minutes.


Homemade Applesauce

I make applesauce all the time and it is so fast and simple.  I don't cook my apples first, although you can and it will turn out just about the same.  With our preschoolers at school, we just cut up apples into tiny cubes, put them in a blender and add a little bit of water.  You can also add some cinnamon if you'd like.  Let kids take turn pushing the blender button.  You might have to stop and use a spoon to mix it during the process.  It is very easy and a fun, healthy snack.

Once you have all the snacks made that you want ( can add popcorn, chips, fruit, candy, etc)
Now it is time to set up a small concession stand before you start your movie.

Place all foods items on a table, give each child some loose change to purchase a ticket and their snacks for the night.  Remind them they might want to save some money for "Intermission" :o)

Once everyone has their snacks....settle in for the movie.  During "Intermission" to get their legs moving (while the lights are out).....blow up a couple balloons and put a Glow Stick inside each one before tying.  Let them play volleyball in the dark for a few minutes before restarting the movie.

Just a few ideas I had on this drizzling kinda day!  Enjoy!


Thursday, July 19, 2012

Ocean/Beach Theme Ideas

Since it is summer time....I thought I would give some ideas for an Ocean/Beach theme!  I'll start with just a few books for your theme.
   
Books we like to read:
 "There Was an Old Lady Who Swallowed a Shell"  by Lucille Colandro  (print and laminate/velcro items from the story to retell the story on a flannel board or give each child a picture to bring up at the right time in the story)

"Somewhere in the Ocean"    by Jennifer Ward
"Rainbow Fish"  by Marcus Pfister
"Commotion in the Ocean"  by David Wojtowycz

Songs:

Slippery Fish (We use velcro/laminated pictures of a little fish, tuna, octopus,     shark and a whale to help us tell the story) 

Slippery Fish, Slippery fish....swimming in the water (hands together in front of you swimming fish style)
Slippery Fish, Slippery fish....GULP, GULP, GULP! (alternate hands on throat in swallowing motion)
OH NO!  It's been eaten by a.....  Hands on cheeks...worried)
Tuna Fish, Tuna Fish.....jumping in the water  (hands together...fingers pointing up...make a jumping motion)
Tuna fish, Tuna  Fish....Gulp, Gulp, Gulp!
OH NO! It's been eaten by an....
Octopus, Octopus...squiggling in the water  (Squiggle arms around like tentacles)
Octopus, Octopus..Gulp, gulp, gulp
OH NO! It's been eaten by a....
Great White Shark, Great White Shark.....lurking in the water (hands on head to make a fin)
Great White Shark, Great White Shark....gulp, gulp, gulp
OH NO! It's been eaten by a...
HUMONGOUS  Humongous whale....spouting in the water (sing in deep voice with arms spread wide)
Humongous whale, humongous whale.......
BURP!   (Rub belly)
Exuuussee ME!

Five Little Fishies   (5 velcro/laminated fish and 1 pirate ship)

Five little fishies swimming in a pool.  (Wiggle 5 fingers)

The first fish said, "This pool is cool!" (Shiver & hug self)

The second fish said, "This pool is DEEP!"  (Use a low voice)

The third fish said, "I want to sleep!"  (Yawn & stretch)

The fourth fish said, "I spy a ship!"  (Hand shading eyes)

The fifth fish said, "Yikes! Pirates..Beware!"

Then ARRGGHH wentthe pirates and splash went the waves

and the five little fishies swam down to their caves!

 Five Little Sand Castles: (Use sandpaper to draw 5 castles - print wave pic)
                (You can give one castle to 5 children and have stand up front.  Pick a child to be the wave.  
                  As you sing the song, have the wave sweep over a child's castle (taking it) and that child 
                  falls to the floor like a fallen sand castle)

Five little sand castles built by the shore
Along came a wave and WHOOSH!  Then there were four.

Four little sand castles built just for me.
Along came a wave and WHOOSH!  Then there were three.

Three little sand castles built just for you.
Along came a wave and WHOOSH!  Then there were two.

Two little sand castles built in the sun
Along came a wave and WHOOSH!  Then there was one.

One little sand castle built just for fun
Along came a wave and WHOOH!  Then there were NONE! 


Activities:

Sort & Pattern with ocean erasers
            
Grow a Star Fish  -  Trace the star before placing in water.  Use a big enough paper to keep using for a couple of days.   Underneath the star, tally whether the kids think it will grow bigger or get smaller in the water over night.  The next day, remove it and blot dry.....trace...see if bigger or smaller.  Tally again and repeat until you decide it is done growing.  Remove it from water and let kids check what happens to it the next couple of days.  Will it get bigger or smaller out of the water?
Smallest to Biggest Pattern: Have children cut out 5 different sized sand dollar pictures.  Give them a strip of blue paper (ocean) or manilla paper (for sand).  Have them glue the sand dollars onto strip according to size or the numbers on them.
Have You Ever Built a San Castle Graph:  Graph and talk about more and less
How Many (Fish Cards):  I printed these cards a few years ago from a site online and not sure where....I will try to find....but you could easily make y our own.  At the top of each one the say....How many ORANGE fish? The color word is in that color so they can still do it without being able to read.  have them use clothespins to clip onto the correct number of fish.
Color Matching Game:  I found a border with six different colored fish.  Borders are GREAT for cutting/laminating and using for sorting, patterning, etc.!  I cut them apart so there were 4 of each color.  Then on the computer, make a card for each color with four squares that the cards will fit into.  You can play two - six kids.  Mix cards up in middle.  Take turns drawing.  If you get your color you add it to your card.  if not....it gets mixed back into the middle.  Fill your cards first and youWIN!  The kids really liked this game :o)

Other activities:  (No pics for)
1.  Fill a pail with some things you would find at the beach or in the ocean and some things that don't belong there.  Have at a center for children to sort into the correct piles.


2.  Who Has My Shark Tooth Game:  Use something that resembles a shark tooth.  Put a chair in the front of the room.  Choose one child to be the shark.  They will sit and hide their eyes facing away from the other kids.   Place the shark tooth under their chair.  Choose one child to QUIETLY move up and take the tooth and return to their spot.  Instruct all the kids to put their hands behind their backs and be SUPER quiet...no talking OR shouting out who has it.  The shark then gets 3 tries to ask kids..."Do you have my shark tooth?"  They have to use their words to ask.  This can be difficult for some kids, but they do eventually catch on.  Whoever had the tooth is then the shark, until all kids have had a chance to be the shark.

3.  Four Corners of the Ocean.  In gym or outside, have children run around while you shout out words.  Doesn't matter what they are, but when you say OCEAN, they have to quickly go to one of the 4 corners you have designated.  Count to 3 or 5 (depending on age).  Any children still out of a corner have been eaten by a shark and have to come sit with you.  Play until one or two kids left.  This is a good LISTENING/Directions game.

4.  Turn part of your classroom into a beach area.  Add beach towels, umbrellas, beach balls, sunglasses, sand toys, picnic basket, etc.  Let them pretend to be a family on vacation.

5.  Sink or Float?  Put some water in your water table or in a plastic tub.  Find some objects around the room and ask the children if they think each item will sink or float when placed in the water.  Were they right?

6. Play ocean/beach/nature music during center time.  It will help relax children as they explore all the
centers

7.  Put sand in your discovery table.  Add some shells, magnetic letters, etc.  Give them some sifters and let them find and sort all the items.

Arts and Crafts:

Jellyfish - Use half a paper plate.  Squirt a little glue on and add crinkly paper pieces.  Wrap plate in Saran wrap (blue works good too).  Let them pick what color of crepe paper they want for tentacles.  Very simple craft.

Starfish or seahorse We make starfish necklaces the same way as this seahorse, but I couldn't find my pic.
                                    To make:  Pick a shape you want (star is easiest).  Use a star cookie cutter to trace with permanent marker onto wax paper.  Or you can lay any picture under the wax paper to trace outline.  Have child fill in the shape with glue.  sprinkle some sand (you can use some colored sand too like in pic above).  lay completely level and let dry overnight or for two days.  Once dry it will peel right off wax paper and you can use a paper punch to make a hole and add yard for a necklace.
Rainbow Fish  Use a paper plate, draw a triangle for a mouth.  Have child color the whole plate rainbow colors.  Next have them cut out the triangle and you can staple the triangle to make a tail.  Add a piece of foil (shiny scale).  Add an eye and a string to hang.
Sandpaper castles: Give each child strips of sandpaper and have them cut squares and rectangles.  Glue them on to make a castle.  Use construction paper to cut a sun and some flags.
Colored Sand Castles:  Give child a brown marker and have them draw a castle. ( They can look off of yours if they need to for an example).   Have them paint glue into all the wall parts....not windows.  Let them sprinkle colored sand over the glue.  Add flags if desired.
Foam Block Painting:  We used a couple of our foam blocks, a layer of paint in a tray or bowl for each shape. Have them press the blocks onto paper to create a castle.  Sprinkle with sand....add flags.  Use a good sized piece of paper as the blocks are big.

Ocean in a Bag:  (No pic...sorry)  These are very cool.  Use heavy duty baggie.  Spray a little shaving cream in each bag and a little bit of blue paint.  Seal the bag and use Duct tape across the top to hold together.  Have child lay the bag on table and gently rub the shaving cream and paint together to create an ocean.  On the oustide of the bag they can add fish stickers or ocean stickers.  Hang these in a window and the light shining through really looks like the ocean.

I have many more ideas for this theme, but these are some of our favorites!  Hope they give you some ideas to use with your preschoolers!  Have a great day!

Wednesday, July 18, 2012


Hi!  Welcome to my blog!  I have been working with preschoolers for many years and have so many ideas I would like to share with you.  Preschoolers are so curious and thirsty for knowledge.  They are like little sponges just waiting to soak up any new exciting information you can give them.  There is so much fun just waiting to be discovered when you enter a preschool classroom.  I would like to share some of our themes, centers, crafts, and experiences throughout the year.  I will try to post lots of ideas to use with each theme and if there are any themes or anything that you would like some ideas for....please send to me and I will try to help you out with some ideas.
Check back often for new ideas!